TA DA!
My Locomotion No.1 artwork is now displayed in the Castlegate Shopping Centre (Spencer Market Hall), Stockton On Tees. There will be more information regarding this after a press release, once I return from London next week. To find more information about the project and other artists exhibiting, please click on the weblink below... (I will promise I will keep you updated!)
Rediscover Stockton - Artist Trail
My work is presented within a digital booklet which can be downloaded
here
I thought it might be insightful to give you a step by step guide on how I constructed that 'groovy train' during the summer of 2014.
Acknowledgements go out again for my good friend Ian Burr for helping me get my head around the technical side of constructing a locomotive, he has been a tremendous help. I would also like to thank Stockton Council and Gayle Chong Kwan for the experience and opportunity to display my work publicly.
Once that it had sunk in that I had won the opportunity to disply my artwork (My first public art commision!) I felt the pressure of executing my idea well since it would indeed earn me some artistic credibility. I swallowed my self doubt and got on with the project, so here we go...
Step 1: - 3D paper formations of the proposed model. (The scale is incorrect because I am human)
 |
| Added supporting structure in the middle |
Step 2: - Realise that you have got the scale wrong before continuing...
 |
| Did you know that Locomotion boiler is the same diameter than the wheel? |
 |
| Incorrect scale and incorrect to scale down the diameter of the wheel at this point. |
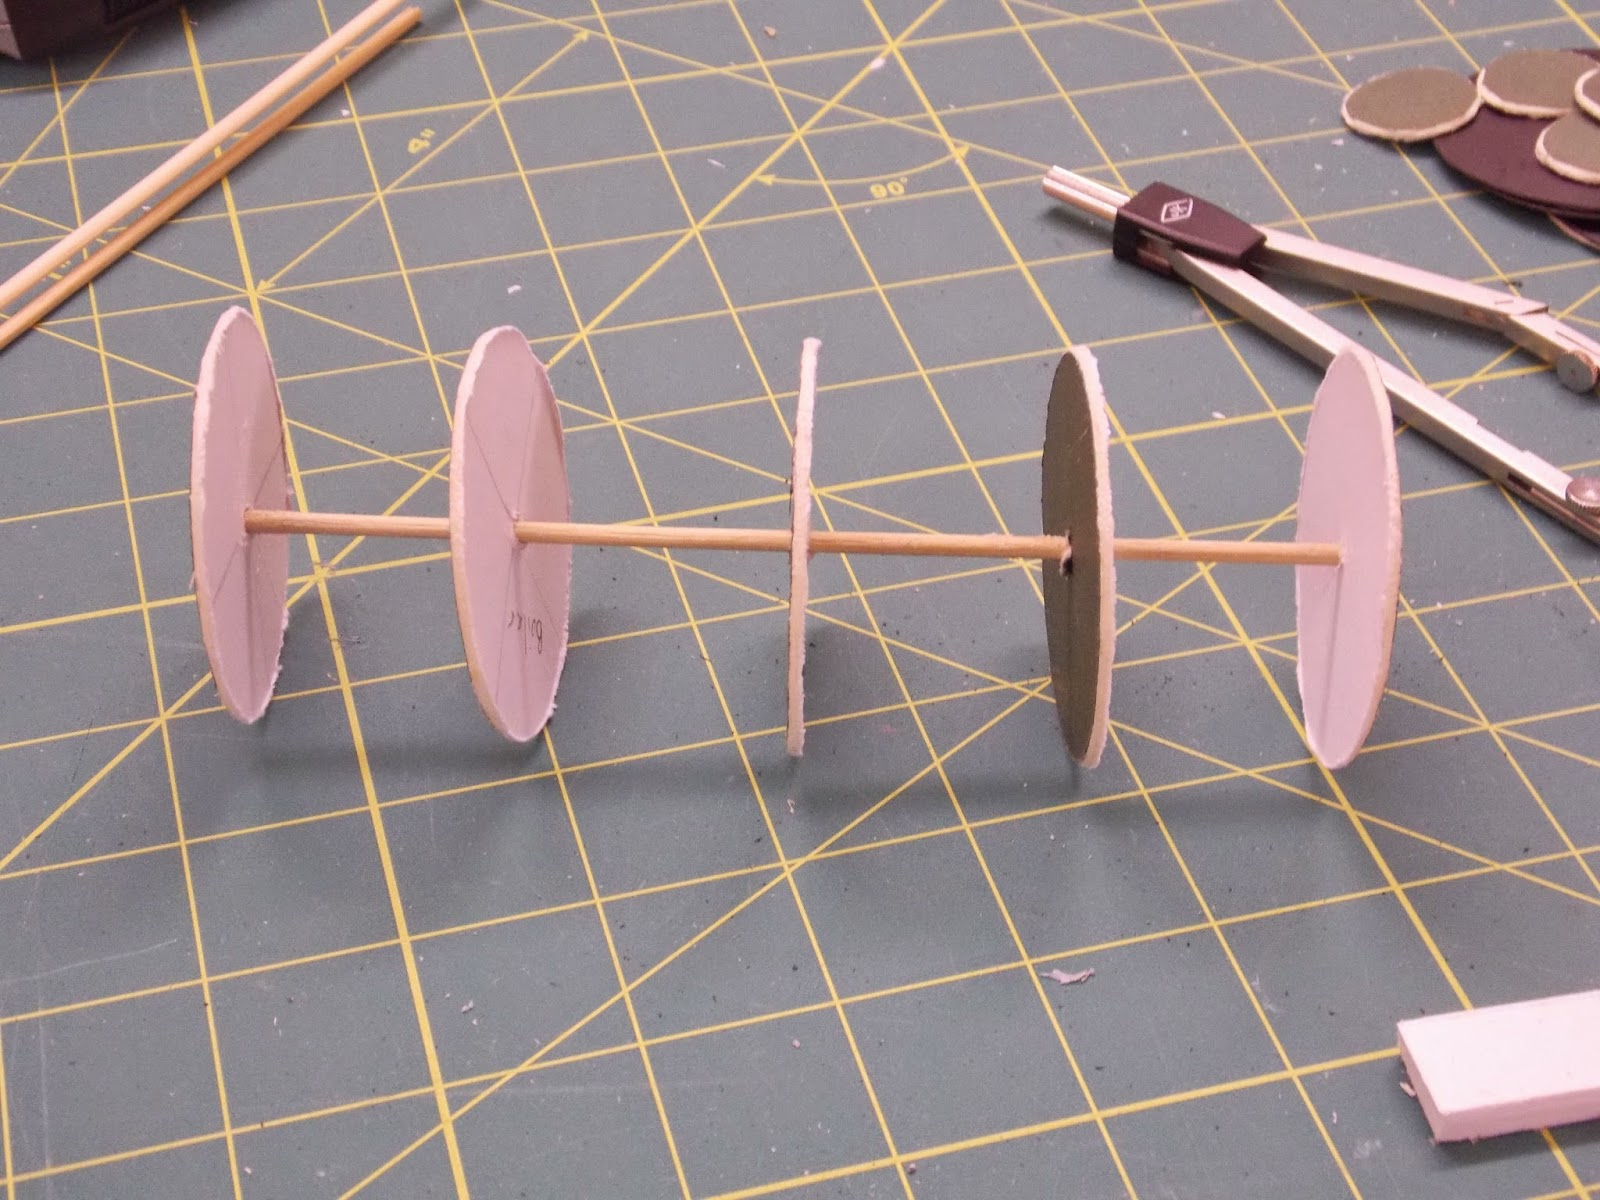
 |
| Wheel Axel made from hard foam display board. |
Step 3: The correct scale is found after mild panic. :)
 |
| I used a copper plumb joint to get the curve in the chimney however it was heavy so we had to counteract the weight at the end of the boiler. (22mm in diameter) |
 |
| Train Wheels |
 |
| Used an old plunger handle to create the chimney stack itself. |
Step 4: Prepare the glue gun!
 |
| Matchsticks added and funnels ( I was very happy at this point.) |
 |
| Completed Wheels presented against the colourful Boiler. |
 |
| Testing out the shape of the running gear using very thin plastic sprue. use liquid poly to glue plastic together. |
 |
| Running gear as shown on top of the Locomotion. |
 |
| Finishing off the funnel detail. |
 |
| Adding the Blast Pipe. I had problems creating a curve with the material I used for the blast pipe,so we agreed on creating sharpe corners instead. |
 |
| Blast Pipe painted and Running Gear painted! |
Step 6: Finishing touches
 |
| Blast Pipe Painted and Footplate made out of Matchsticks |
 |
| Ian Burr being helpful on the tricky bit, threading the Running Gear through the footplate. |
 |
| Running Gear threaded by not yet painted, assembled with Liquid Poly |
 |
| The finished project! |
*Please note that all the materials I used were locally sourced from
Stockton Modeller who are situated on Silver Street within Stockton's Town Centre. I would like to Thank them for the advice and guidance given and the permission for my completed model to be displayed in the shop over the Christmas holidays. I would be grateful if you could take a look at their site*
Stockton Modeller
 I thought it might be insightful to give you a step by step guide on how I constructed that 'groovy train' during the summer of 2014.


No comments:
Post a Comment